
TL;DR: Installing a Granular Activated Carbon (GAC) filter in your shower is a simple, powerful way to protect your skin and hair from chlorine and other contaminants. Follow this step-by-step guide to enjoy cleaner, healthier showers today.
Step-by-Step Guide: How to Improve Your Shower Water with GAC Filters
Step 1: Understand the Problem
Municipal water often contains chlorine and other contaminants that can dry out your skin, irritate your scalp, and damage your hair. Learn more about the hidden dangers in your shower water.
Step 2: Choose the Right Filter
Not all filters are created equal. Look for a high-quality GAC filter combined with additional media like KDF or calcium sulfite for maximum protection. The Nordisk Duschvattenfilter offers advanced multi-stage filtration for optimal results.
Step 3: Prepare for Installation
Most GAC shower filters, including ours, are designed for easy, tool-free installation. Simply ensure you have the correct adapter if needed. We recommend checking out our Nordisk Duschadapter options for a perfect fit.
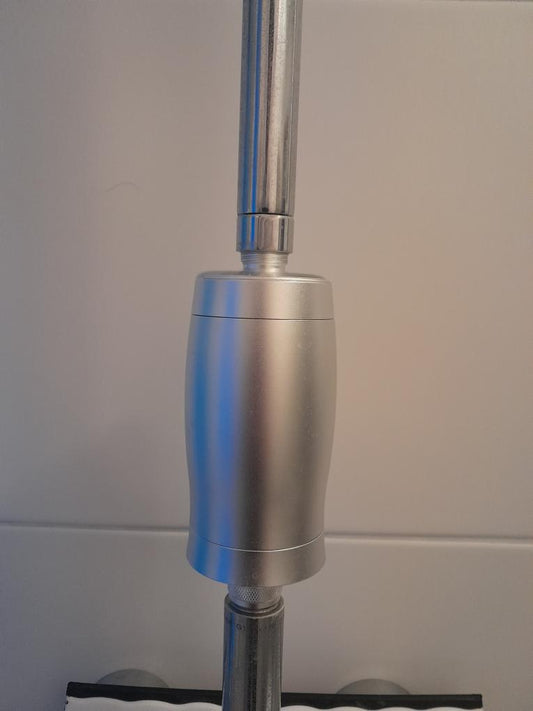
Step 4: Install the Filter
Unscrew your existing showerhead, attach the GAC filter according to instructions, and reattach the showerhead. It usually takes just a few minutes to complete the setup.
Step 5: Enjoy the Benefits
With your new GAC filter in place, you can immediately enjoy softer skin, shinier hair, and reduced scalp sensitivity. Plus, your showers will smell fresher and feel more rejuvenating.
Step 6: Maintain Your Filter
To ensure continued performance, replace your filter cartridge every 6 months or according to usage. Our one-year supply of cartridges makes it easy to stay on top of maintenance without hassle.
Bonus Tip: Upgrade Your Showerhead
For an even better experience, consider pairing your filter with a Nordisk Duschhuvud designed specifically to enhance water flow and filtration.